Sometimes, you need to redirect people from A to B. There are plenty of ways to do so from paid purpose built services to self hosted NGINX setups. This solution uses the Azure Static Web App feature which is entirely free and requires zero server setup.
 Redirecting a website is like being an air traffic controller for the digital skies – ensuring all the right clicks land safely on the correct runway!
Github
First, make a new repo on Github. You can name this anything you want and you can set the visibility to anything you want. Then create a new file in the github repo named “staticwebapp.config.json” and edit and copy paste the json into it.
1
2
3
4
5
6
7
8
9
{
    "routes": [
        {
            "route": "/",
            "redirect": "https://www.domain.tld/",
            "statusCode": 302
        }
    ]
}
After you’ve created the json file you need to create a second file in the repo named “index.html” this file can contain anything you want. It just needs to exist for technical reasons.
Once our repo looks like this we can go to Azure. 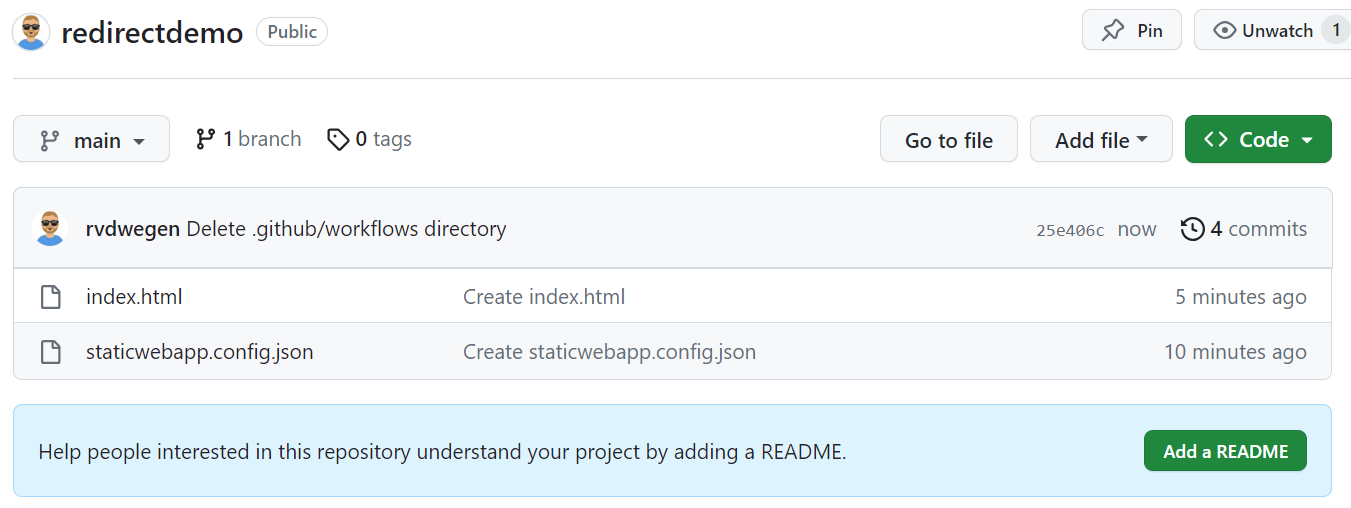
Azure
First go to the Static Web App blade by clicking here. Click on Create (or your regional language variant).
You’ll be presented with a number of choices, fill them in as they make sense to you except for the following:
- Plan Type: Free
- Deployment Details: Github (you’ll be asked to login)
- Organization: Select the organization in Github that your repo exists in, most likely this will be your username
- Repository: select the repo you created earlier
- Branch: main
- Build details: leave this blank
Click create. It may take a few minutes to create the resource.
Once its done you’ll notice on your repo that a new “.github/workflows” folder was created. This contain the workflow file that syncs our settings file to Azure.
A few minutes after that you can click the default URL created for the Static Web App and you’ll be redirected to the url you edited into the json file from earlier.
Last and most importantly, you’ll want to go to “Custom Domains” and follow the instructions to add the domain or subdomain that you wish to redirect from.
You’ll be asked to edit the DNS records for that domain so be sure to have those ready.